Datasheet
Year, pagecount:2012, 19 page(s)
Language:English
Downloads:2
Uploaded:January 31, 2019
Size:1 MB
Institution:
-
Comments:
Attachment:-
Download in PDF:Please log in!
Comments
No comments yet. You can be the first!Most popular documents in this category


Content extract
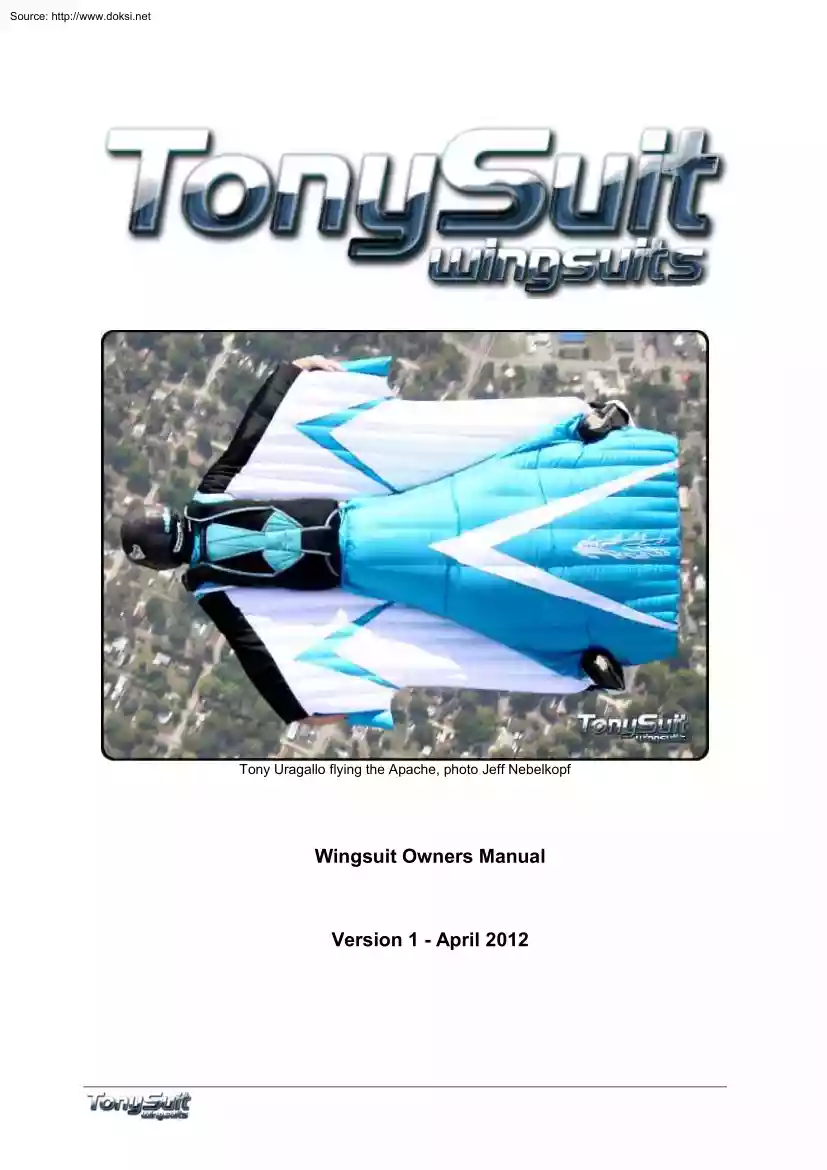
Source: http://www.doksinet Tony Uragallo flying the Apache, photo Jeff Nebelkopf Wingsuit Owners Manual Version 1 - April 2012 Source: http://www.doksinet Dear Tony Suit Customer Thank you for your recent wingsuit purchase. Please take a few minutes to read this manual, inside you will learn: how to safely attach and wear your wingsuit the great features of your new wings how to take care of your suit so it will last for hundreds of flights tips to fly and get the most out of your suit PLEASE learn how to attach and dress your suit at home, not on a 20 minute call. In this manual we have also tried to share some of the tips and experiences that the TonySuit team has learned during thousands of flights over the past 5 years. For the latest news, videos and tips don’t forget to visit our website: www.TonyWingsuitscom I just love to fly my suits around the sky, alone and with friends, cruising around huge puffy clouds or following a ridge line, enjoy. and ALWAYS keep your
eyes open Thank You! Tony Uragallo President of TonySuits Source: http://www.doksinet Contents 1. Attaching the wingsuit to your rig 2. Putting on your wingsuit & rig 3. Standard suit features 3.1 Escape sleeves 3.2 Foam Leading Edge 3.3 Variable wing pressurization 3.4 Retractable Leg wing trailing edge 3.5 Fast Back 3.6 Air locked front inlets 3.7 Wing attachment zips 3.8 Zip in rig system 3.9 Arm wing pocket 3.11 Leg wing snaps 3.12 Rigid wingtip grippers 4. Optional Suit features 4.1 Extended Leg Zippers 4.2 Air locked back inlets 4.3 BASE Soles 4.4 Hook knife pocket 4.5 Expansion zips 4.6 Lens cap pocket 4.7 Color stripes and flashes 4.8 Leg storage pocket 5. Flight plan 6. Emergency situations 7. Taking care of your suit 8. Flying tips Source: http://www.doksinet 1. Attaching the wingsuit to your rig Inspect the rig, remove the freefly bungee, loosen the leg straps. Lay the rig on the floor, back pad up Open up all zippers Lay wingsuit on top of the rig Put
hand through left leg strap hole, grab the leg strap and pull it inside the suit. Repeat for the right leg strap Put the left wing all the way through the shoulder webbing. Attach the snaps and close the zip. Repeat for the right side For the Apache: open the zips in the back panel, pass the shoulder webbing and leg straps inside the suit and close the zips. Source: http://www.doksinet 2. Putting on your wingsuit & rig Unzip the arms and legs Position the suit on a chair or the floor Put on the leg straps Put one shoulder halfway on Find other shoulder and pull rig on Dress the collar of the suit Put on chest strap and tighten leg straps Put feet into booties Close body zips Gear Check ○ Normal Check, handles, straps, pilot chute ○ Zipper check ○ Snap Check ○ Bootie check Remember your helmet, goggles, visual and audible altimeter, hook knife and AAD. Tip from Tony: “After jumping and you are UNDOING THE WINGS, PLEASE UNZIP THEM BEFORE UNDOING THE
SNAP”S, popping the snap free can jerk on the zipper end and weaken it.” Source: http://www.doksinet 3. Standard Suit Features The table below shows the features and options available for each suit: 3.1 Escape sleeves The escape sleeves allows you to reach the risers / toggles without unzipping the wings. Good for dealing with an off heading opening Remember to punch both arms forwards before reaching up, it also helps to raise your knees slightly. Source: http://www.doksinet 3.2 Foam Leading Edge The foam insert inside the arm sleeve acts to create a more efficient leading edge. 3.3 Variable wing pressurization Zips in the arm and leg wings allow you vary the pressurization of the wings. Normally the zips are kept closed but to reduce pressurization they can be opened (to reduce performance e.g for flocking) Source: http://www.doksinet 3.4 Retractable Leg wing trailing edge The retractable leg wing helps to reduce wear on the trailing edge during walking. 3.5 Fast
Back The ‘Fast-back’ serves to improve airflow over the rig and leg wing. Source: http://www.doksinet 3.6 Air locked front inlets The air locked inlets provide fast, solid inflation. 3.7 Wing attachment zips Attaching the suit to your rig is fast and easy with the two wing mounted zips. Source: http://www.doksinet 3.8 Zip in rig system (Apache only) To reduce drag and allow the front of the suit to be a clean flat surface the Apache utilizes a “zip in” rig panel, meaning the chest strap and main lift webs are completely inside the suit. 3.9 Arm wing pocket Every seasoned wingsuit pilot needs a place for their mobile phone and jump tickets. Source: http://www.doksinet 3.11 Leg wing snaps The snaps allow you to stow the leg wing while on the ground or under canopy. 3.12 Rigid wingtip grippers The rigid wingtip grippers act as winglets and also increase the wing span. They can also be used as a control surface. Source: http://www.doksinet 4. Optional Suit
features 4.1 Extended Leg Zippers The extended leg zips make reaching down to unzip the legs much easier. 4.2 Air locked back inlets Air locked inlets on the arm and leg wings for back flying. Source: http://www.doksinet 4.3 BASE Soles BASE soles - made from 5.10 Stealth Rubber provide great traction on the exit point. 4.4 Hook knife pocket Pocket with “Jack Knife” located on the thigh of the suit. Source: http://www.doksinet 4.5 Expansion zips (winter or student version) The expansion zips allow extra room, ideal for student suits and for winter clothing. (Winter version: back panel only - Student version full length torso zips) 4.6 Lens cap pocket To help prevent you from losing it so quickly. Source: http://www.doksinet 4.7 Color stripes and flashes Personalize your suit with stripes and flashes. 4.8 Leg storage pocket The large leg pocket is great for storing your radio, food, rain jacket etc. Source: http://www.doksinet 5. Flight plan The following
explanation is for information purposes only. This manual is not a ‘how to guide’ or a substitute for real training. WE STRONGLY RECOMMEND pursuing training and supervision from a suitably experienced wingsuit pilot / instructor. When you jump a wingsuit your flight directly affects the safety of the pilot, other jumpers and aircraft. The golden rules of wingsuit flying: 1. Dress the suit correctly and check yourself before boarding and again before exit 2. Inform manifest, dropzone control and the pilot that you will be flying a wingsuit (Tell the pilot which direction you will turn after exit.) 3. Exit the aircraft last, with your WINGS CLOSED, once you see the tail pass open your wings gradually and symmetrically. Failure to do so could potentially result in death and a destroyed aircraft. 4. Fly a left or right hand circuit that allows you to return to the landing area with out crossing the flight line or approaching any open canopies. 5. Slow down before you deploy, it is
advisable to collapse your wings and arch to bleed off some of your horizontal speed before deployment, In detail: 1. Dress the suit as described in sections 1 & 2, remember to check your straps, zippers, snaps and booties. We also recommend a helmet, goggles, visual and audible altimeter, hook knife and an AAD. 2. Manifest and dropzone control usually track that all jumpers are accounted for after each load. The longer freefall time and horizontal distance achieved with a wingsuit can cause problems in locating wingsuit jumpers under canopy so it is courteous to inform them beforehand. 3. Keeping your wings closed during exit is essential, there have been several tail collisions over the past few years, as suit performance increases it becomes even more significant. Pay special attention when jumping ‘low tail’ aircraft such as the Beech, PAC 750 and Caravan. Tip from Tony: “.take three deep breaths before exit, very important for every skydive” 4. It is fundamental to
plan your flight before boarding, the most common flight path is to make either a left or right hand pattern as shown below. Source: http://www.doksinet Example flight patterns. Wingsuits normally exit last, making a pattern that allows them to return to the landing area without causing traffic conflicts with other jumpers. Your exact opening point will need to take into account the wind strength and direction, it is always best to open up wind of the landing area. Watch out for high open canopies such as tandems and AFF students, pay attention to who else is on the load when you board. Do not fly across the flight line in freefall If there is more than one wingsuit group on the load go in opposite directions (one left, one right). 5. During your initial flights it is wise to make three practice pulls after exit, perform 3 heel clicks to show break off and your intention to deploy. After the heel clicks it is wise to bleed off your horizontal speed by bending your legs at the knee,
arching and waiting for a few seconds before deploying. We recommend starting the deployment sequence at 6000’ on your initial jumps. Ensure you throw the pilot chute vigorously to avoid the burble behind the suit. Note: LET GO of the wing tip grippers before reaching for the pilot chute. After opening: - Check your airspace, using the escape sleeves to perform a riser turn if needed. - Unzip your arms and steer the canopy towards the LZ. - Unzip and stow the leg wing, collapse your slider, open chest strap etc. Source: http://www.doksinet 6. Emergency Situations Parachute Malfunction If you suffer a parachute malfunction then proceed to cut away and pull your reserve as you were trained. DO NOT lose time unzipping your arms, the suits are designed to allow immediate and clean access to the emergency handles. In the case of a high speed malfunction, such as a bag lock, remember to close your leg wing and arch to help to maintain stability as you cut away and deploy your reserve.
Flat spin / instability If you find yourself in a flat spin (common when learning to back fly on large suits) it is important to ball up, this will slow down the rotation, then keeping the wings closed arch to get back on to your belly, look for the horizon before gradually reopening the wings to continue flying. Aircraft emergency If the aircraft suffers a technical problem and the pilot instructs you to exit you must consider the altitude and time available. If the aircraft is flying above your intended deployment altitude and you have time you may zip up the suit, exit normally and deploy at a suitable altitude. If the aircraft suffers a problem at low altitude then exit and immediately deploy your reserve. Water landing Water landings should be avoided as swimming with a wingsuit on is very difficult. Whilst under canopy free your legs from the suit by sliding the body zips down towards the booties, open your chest strap, flare normally into wind and calmly remove the suit and rig
before swimming to shore. A hook knife could be useful in this scenario Source: http://www.doksinet 7. Taking care of your suit Washing the suit is easy, do it in a cold wash with a gentle soap (e.g one suitable for wool) and hang dry, do not leave it wet inside the washing machine. When you are finished with the suit close all the zips and fold it neatly. Store it in dry place out of direct sunlight. If the suit becomes damaged consult your local rigger or TonySuits before using it again. 8. Flying tips Every person finds their own personal flying position, in general though the ‘correct’ position can be described as follows: - Legs and arms outstretched - Toes pointed - Back straight, head neutral Arching and letting your arms go back slightly will make you more stable. Pushing the arms down under the body will cause you to flare out and stall, letting the arms go ‘up’ behind your back with cause you to dive and gain speed. Pointing your toes, tucking your chin slightly
and de-arching should increase your performance, use your arms to adjust your angle. Tips from Tony: “When jumping the larger suits like the S-Bird and X-Bird most people prefer steering with their legs, I like to push a foot down to steer, or one foot down and one up, pushing the right foot down will lift your right side and turn you left, just like an airplane, flying at slow forward speeds will change this though.” End