A doksi online olvasásához kérlek jelentkezz be!
A doksi online olvasásához kérlek jelentkezz be!
Nincs még értékelés. Legyél Te az első!
Mit olvastak a többiek, ha ezzel végeztek?


Tartalmi kivonat
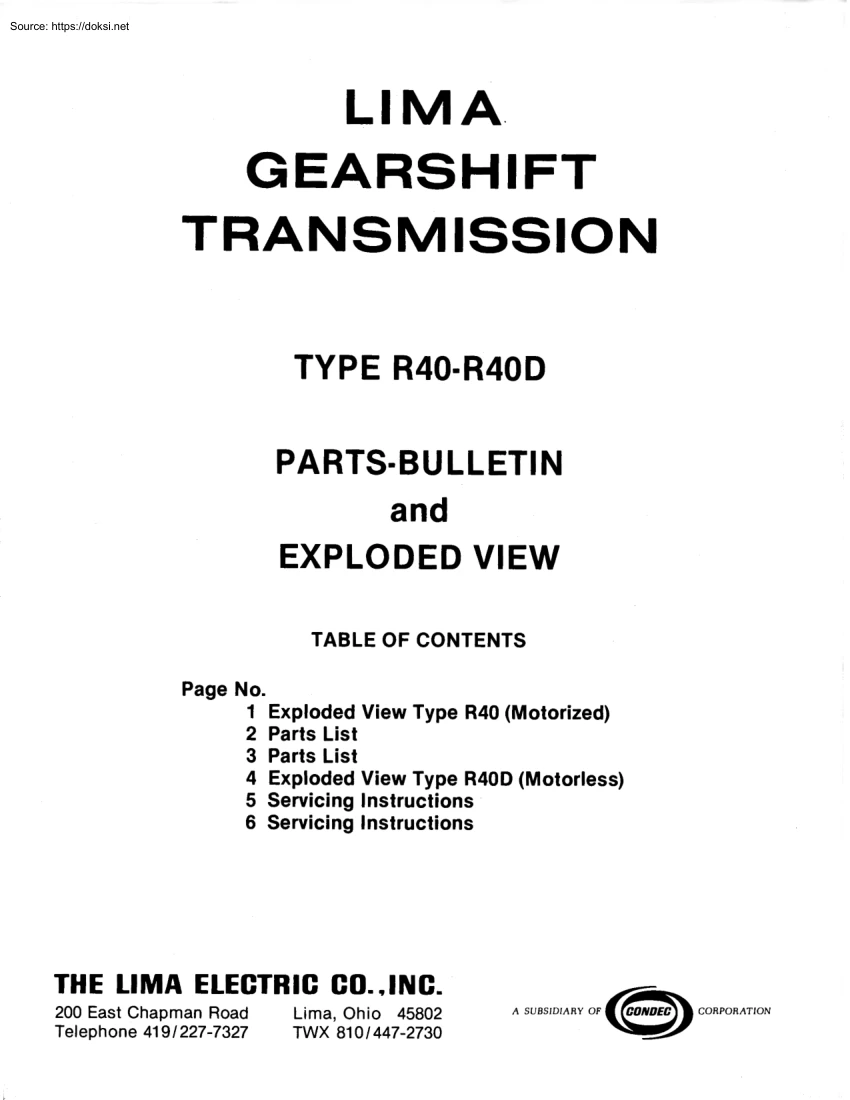
LIMA. GEARS HIFT TRANS MISSIO N TYPE R40-R40D PARTS-BUL LETIN and EXPLODED VIEW TABLE OF CONTENTS Page No. 1 Exploded View Type R40 (Motorized) 2 Parts List 3 Parts List 4 Exploded View Type R40D (Motorless) 5 Servicing lnstructions 6 Servicing lnstructions THE LIMA ELECTRIC CO . INC 200 East Chapman Road Telephone 419/227-7327 Lima, Ohio 45802 TWX 810/447-2730 A sues,rnARY a, e COReORAT<DN LIMA GEARSHIFT TRANSMISSION TYPE R40 (Motorized) SEE UNSHADED COLUMN T H E L I M A E L E CT R I C C 0., 1N e PARTS BULLETIN #PB-R40-R40D-0977 LIMA TYPE R40 & R40D TRANSMISSION ITEM NO. R40 DESCRIPTION 1A 1B Baffle, Motor Endbell Baffle, Drive End Bearing Cap, Output Bearing Cap, Input Connection Box Lid Endbell, Motor Endbell, Input Endbell, Motor For Brake Stator Assembly (See Chart) Gearcase Key, Pulley Output Key, Rotor Key, Pulley Input Lock Plate, Countershaft Rocker Arm Shaft, Counter Shaft, Spline Input Pinion & Motor Shaft Shaft and Main Drive Gear Input Pinion
& Motor Shaft (R40E) Shift Fork, 3rd and 4th Shift Fork, 1stand 2nd Shift Lever Spacer, Thrust Bearing Steel Spacer, Thrust Bearing Bronze Spacer, Spline Shaft Rotor Only (See Chart) Shift Handle Ball, Shift Lock Poppet Bearing, Ball Input Pinion Bearing, Ball Motor Bearing, Balt Spline Bearing, Bronze Pilot Bearing, Bronze Countershaft Bolt, Through Screw, Hex. Hd Cap Endbell 5/16-18 x 2½ Bolt, Eye Gasket, Bearing Cap Input Gasket, Bearing Cap Output Gasket, Bottom Plate Gear, Countershaft Gear, Single 3rd and 4th Gear, Double 1st & 2nd Nut, Hex. 5/16-18 Pin, Shift Lock Pin, Roll Shift Fork Pin, Groove Rocker Arm Pin, Groove Rocker Arm Pin, Roll Handle 2 3 5 6 6A 8 9 10 11 12 13 14 15 16 16A 17 18 19 21 22 23 24 25 26 27 28 29 30 31 34 35 36 37 38 40 41 42 44 46 47 48 49 2 PART NO. REQUIRED QUANTITY 408404-01 1 1 1 1 1 1 1 1 408404-01 405401-01 405402-01 423402-01 403409-01 403421-01 403420-01 ---- 404412-01 809801-01 809828-01 809898-01 429401-01 410401-01
456401-01 456407-01 401410-01 401409-01 401432-01 407401-01 407402-01 402422-01 454403-01 454402-01 454401-01 ---- 402410-01 437401-01 431410-01 831849-01 431802-01 431401-01 431402-01 815814-01 801002-11 843802-01 434401-01 434402-01 434409-01 430401-01 430402-01 430403-01 801060-06 411401-01 442402-01 442406-01 442405-01 442403-01 1 1 1 1 1 1 1 1 1 1 1 1 1 1 1 2 1 1 2 1 1 1 1 2 4 4 1 1 1 1 1 1 1 8 1 2 1 1 1 PRICE EACH ITEM NO. PART NO. R40 DESCRIPTION 50 54 55 56 57 58 59 62 63 Plate, Bottom Plug, Expansion (¾), Shift Rail Plug, Expansion (7/8), Countershaft Plug, Pipe ½ IPS Sq. Hd Plug, Breather Assembly Plug, Pipe Magnetic ½ NPT Plug, Pipe ½ IPS Sq. Hd Screw Hex. Hd, Bearing Cap 5/16 - 18 x 7/8 Screw, Cap Hex. Hd, Lock Plate 5/16-18 x ½ Screw, Cap Hex. Hd ¼-20 x ½ Screw, Baffle Drive Type U H8 x 3/8 Screw, Machine Rd. Hd (#10-24 x ½) Seal, Oil Shift Lever Seal, Oil Pinion Input Seal, Oil Pinion Input Vertical Shaft Up Seal, Oil Outpu t Shift Rail, 3rd and
4th Shift Rail, 1st and 2nd Snap Ring, Spline Shaft Snap Ring, Pinion Input Spring, Poppet Washer, Split Lock Brg. Cap 5/16 External Fan (Type R40E) Fan Cover (Type R40E) Endbell, Motor (Type R40E) 64 67 68 69 70 70A 71 72 73 74 75 76 77 418403-01 436804-01 436805-01 436803-01 412801-0A 436807-01 436803-01 801002-04 801002-01 801000-01 801054-05 801024-04 433803-01 433802-01 433807-01 433801-01 439402-01 439401-01 432802-01 432801-01 440401-01 80.1065-06 816810-01 816811-01 803803-01 REQUIRED PRICE QUANTITY EACH 1 4 1 1 1 1 1 8 1 10 4 4 1 1 1 1 1 1 1 1 1 8 R40 STATOR ASSEMBLY & ROTOR ONLY HP Speed Frame 3 7½ 10 1200 1200 1800 242 246 245 $20.00 MINIMUM BILLING - Stator Assembly Rotor Only No. 8 No. 24 $480.00 585.00 580.00 $235.00 335.00 250.00 PRICES SUBJECT Tó CHANGE WITHOUT NOTICE When ordering, specify Horsepower, Motor Speed , Frame Size, Phase, Cycle, Voltage and Serial No. of Unit 3 LIMA GEARSHIFT TRANSMISSION TYPE R40D (Motorless) SEE SHADED COLUMN
1 2 T 4 THE LIMA ELECTRIC CO., INC-LIMA, OHIO SERVICING THE LIMA TYPE R40 MOTORIZED & R40D MOTORLESS GEARSHIFT TRANSMISSION DESCRIPTION The LIMA Type R40 and R40D Gearshift Transmission introduces simplified design and control which is a great improvement over the step pulley type. The LIMA Gearshift Transmission requires far less space, provides exact control and affords constant horsepower over the entire speed range. lnstead of numerous belts, pulleys, shafts, sprockets, chains and belt shifters, the LIMA Gearshift Transmission with its direct connected motor eliminates the detour through a mass of mechanical transmission apparatus which means minimum friction loss and a savings in power. Maintenance is greatly reduced with the LIMA Gearshift Transmission and becomes rarely little more than a job of periodic lubrication. The construction of the LIMA Gearshift Transmission is simple and rugged with little to wear or go out of order. The following instructions cover the
complete disassembly of the Transmission. Use Exploded Views R40 and R40D which will show complete assembly details. The following instructions will refer to parts shown on the respective Exploded Views: 1. Place the Transmission on a table or bench far ease of handling and at a comfortable work height. 2. With the Transmission at the edge of the bench or drain rack, remove the magnetic drain plug (58) and drain the oil from the gearcase. Tilt the unit to remove all possible oil 3. Clean the drain plug around the magnets with a blast of air and replace it in the gearcase 4. Remove the keys from both ends of the R40D and the output end of the R40 5. Remove the four 5/16-18 Hex Hd nuts (44) that hold the endbell (6) to the frame (8) Type R40 only. Type R40D remove the four 5/16-18 x 2-1 /2 Hex Hd cap screws (34) 6. Using a fiber mallet, tap the endbell lightly on opposite sides A screwdriver can be inserted on both sides between the endbell and frame Type R40; and endbell and gearcase
Type R40D to pry off endbell. 7. Removing the Stator: Type R40 loosen the stator (8) similar to the endbell by tapping with a fiber mallet. Remove the stator carefully over the rotor so as not to damage the windings Remove the four 5/16-18 x 11 through bolts (34). 8. Remove the four 5/16-18 x 7 / 8 cap screws (62) that hold bearing cap (3) to the gearcase (9) Tap the bearing cap loose from the gearcase using a copper bar and hammer (first on one side then on the other) . 9. Disassembling the Transmission: Place the gearcase bottom side up on a "V" block or between suitable blocks to prevent the unit from tipping while repairing. Be sure the shift lever is in the neutral position. 10. Remove the ten 1 /4-20 x 1 /2 Hex Hd cap screws (64) that hold the bottom plate to the gearcase Pry off bottom plate (50) with a screwdriver, use caution not to bend plate 11. Remove 5/16-18 x 1 /2 Hex Hd cap screws (63) and plain washer (12) that lock the counter shaft (14) into position from
the output of the gearcase. 12. Remove the expansion plug (55) at the other end of the countershaft using a prick punch 13. Drive out the countershaft (14) from the motor end using a brass drift and hammer 14. Remove the countershaft gear (40) and thrust washers noting the location of the thrust spacers Two spacers, one steel (21) and one bronze (22) are used at the small gear end. The spacer with the lug fits into the groove in the gear case. Only one spacer (22) is used at the large gear or opposite end, the lug fitting the groove in the gearcase as before. REPLACING THE PINION GEAR Type R40 Remove the rotor assembly by inserting two wedged or tapered 2 x 4's, 18 inches long on opposite sides of the rotor core and prying between the rotor core (24) and the gearcase. Use bearing pullers or arbor press to remove rotor (24) from shaft pressing from opposite gear end. Note location of rotor on shaft. 5 Type R40D Remove the pinion shaft (16) which should easily slip away from
the gearcase. lf any indication of tightness, assemble a pulley to the shaft and remöve by tapping the pulley with a hammer. 15. Remove bearing retainer snap ring (75) 16. Press off bearing (27) using an arbor press Outer bearing (28) can also be removed now, with a press, if not done previously. 17. Check pinion bronze bearing (30) with countershaft tor wear Use end opposite the tapped hole on countershatt when checking. The end ot shatt with the tapped hole is larger in diameter and should not be used tor gauging. 18. Remove worn pinion bronze bearing either by boring out, or threading, and using a puller similar to that used tor the countershaft. Press new bearing into position so that edge is below surface. Reaming is not necessary Drill a 3/32" oil hole in bearing after assembly The hole is located between the gear teeth in line with the keyway. REPLACING THE SHAFT, SINGLE AND DOUBLE GEAR 19. Remove the tour (4) 5/16-18 x 7/8 Hex Hd cap screws (62) 20. Pry off the bearing
cap (2) Remove bearing cap and seal assembly (71 ) Place a piece ot shim stock over the keyway to prevent cutting the seal while removing from shatt. 21. Remove spline shatt (15) by tapping lightly CAUTION: Double gear (42) and single gear (41) must be removed thru bottom opening betore completely removing shatt from gearcase. 22. lt only these gears are to be replaced, insert new gear in shitt tork, the small or single gear next to the input shatt side ot gearcase as shown on Exploded View. When assembling spline or output shaft, reach thru bottom opening and align both gears and shift forks with pinion gear, and thread spline shaft into position. 23. To remove bearing (29); first remove snap ring using a Truarc Ring spreader Press ott bearing REMOVE SHIFT RAILS PART NO. (72) & (73) 24. Remove the two expansion plugs (54) trom the input side ot the gearcase These plugs are removed by piercing the center ot the plug with a prick punch and prying the plug out o't the case 25.
Place the gearcase bottom side up exposing the shitt rails and torks Turn the rails so as to expose the roll pins in the torks. Using a punch, remove the roll pins (47) 26. Slide the tork to one side exposing the roll pin hole lnsert the punch in the hole and remove the rail. CAUTION: Place a rag over the poppet hole boss while removing the top rail as the spring loaded ball (26) will fly out and may be lost or cause injury. 27. Turn the unit over to remove the shift lock pin (46) and other ball REMOVING THE SHIFT LEVER 28. Remove the rocker arm (13) and shitt lever (19) by turning the shitt lever to expose the roll pin (48). Drive out the roll pin and tap the shitt lever removing it from the rocker arm Remove seal (69) by driving it out with a punch or dritt. 29. Thoroughly clean out gearcase betore reassembling, and remove all gaskets and gasket compound from the three gasketed areas REASSEMBLY INFORMATION For assembling, the reverse of the above procedure could be followed with
exceptions: 1 2 T 1. AII seals and gaskets should be replaced with new ones 2. When assembling seal over shatt, protect the seal by wrapping shaft with shim stock 3. Press on bearings, supporting the inner race so pressure is not placed on the ball 4. Replace all expansion plugs, tap lightly to seal them in place 5. Cover expansion plugs with #1 red hardening permatex 6. Use non-hardening #2 permatex gasket compound on all gaskets 7. Lubricate bearings with light oil while assembling 8. Atter assembly check to see that all parts turn treely 9. Fill gearcase to proper level with SAE 140 Transmission Oil 10. Oil should be changed atter every 2000 hours or six months operation and more frequently in moist, dusty or other adverse conditions. 6
 Módszertani útmutatónkból megtudod, hogyan lehet profi szakdolgozatot készíteni. Foglalkozunk a diplomamunka céljaival, a témaválasztás nehézségeivel, illetve a forrásanyagok kutatásával, szakszerű felhasználásával is. Szót ejtünk a szakdolgozat ideális nyelvezetéről és struktúrájáról és a gyakran elkövetett hibákra is kitérünk.