Comments
No comments yet. You can be the first!
Most popular documents in this category


Content extract
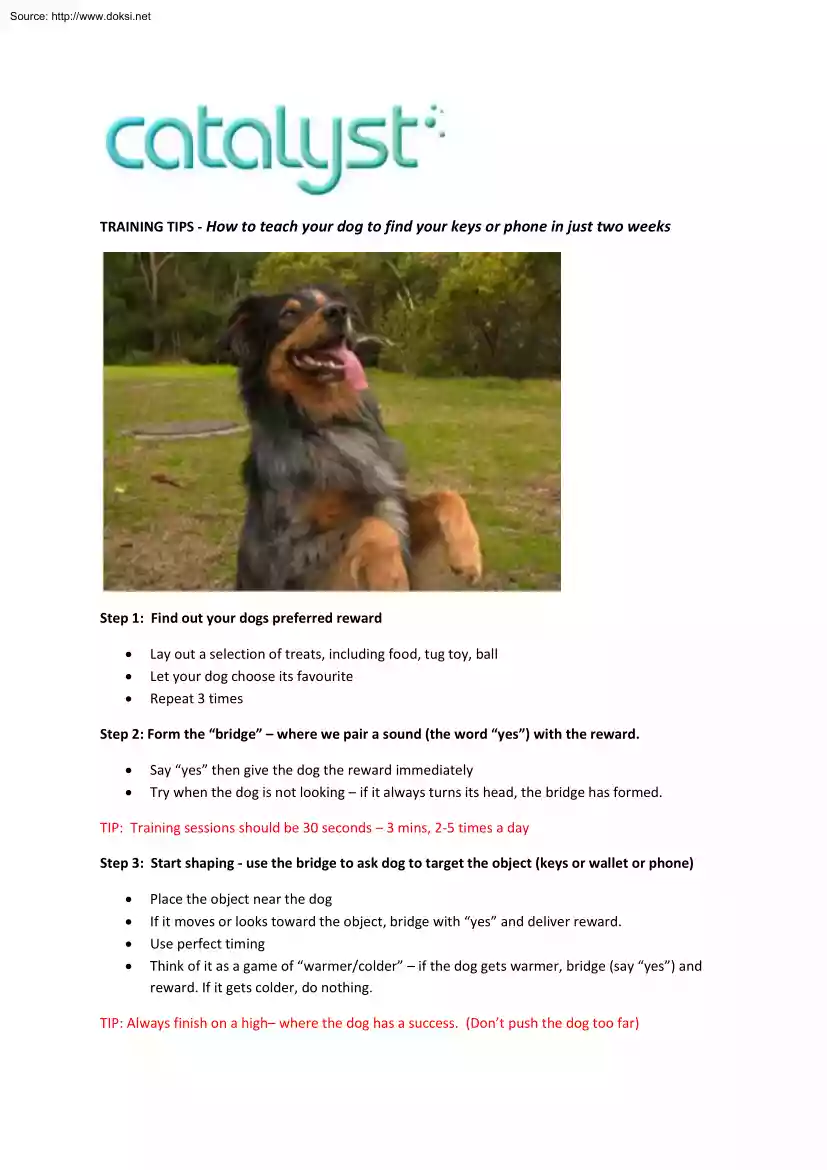
Source: http://www.doksinet TRAINING TIPS - How to teach your dog to find your keys or phone in just two weeks Step 1: Find out your dogs preferred reward Lay out a selection of treats, including food, tug toy, ball Let your dog choose its favourite Repeat 3 times Step 2: Form the “bridge” – where we pair a sound (the word “yes”) with the reward. Say “yes” then give the dog the reward immediately Try when the dog is not looking – if it always turns its head, the bridge has formed. TIP: Training sessions should be 30 seconds – 3 mins, 2-5 times a day Step 3: Start shaping - use the bridge to ask dog to target the object (keys or wallet or phone) Place the object near the dog If it moves or looks toward the object, bridge with “yes” and deliver reward. Use perfect timing Think of it as a game of “warmer/colder” – if the dog gets warmer, bridge (say “yes”) and reward. If it gets colder, do nothing TIP: Always
finish on a high– where the dog has a success. (Don’t push the dog too far) Source: http://www.doksinet Step 4: Ask for more – by using successive approximations Wait for more before you deliver the bridge. Instead of just looking at the object, wait for the dog to move toward the object. Now wait until the dog nearly touches the object before delivering the bridge Every day, aim to add a step higher of complexity. This step will take several days before the dog will form a strong association with the object. TIP: If it gets too hard for your dog, go back to an easier` step. Step 5: Add a cue Place the object near the dog, hold the dog back. Add a cue such as “where are the keys” and let the dog go. When the dog moves towards the object, bridge (say “yes”) and reward. Whenever you add something new, be more generous with when you say “yes”. TIP: Don’t ask too much in each session - this training takes two weeks. Step 6:
Backwards chaining: add in the layers of complexity – keys out of sight. Place the object partially out of sight (but allow the dog to see where you put it). Give the dog the cue. Wait – the dog will have to start using its nose. Bridge when the dog gets as close as possible to the object. At a later session, up the complexity and place it fully out of sight. TIP: If the dog is having trouble smelling the object, add a touch of perfume (and gradually reduce over later sessions) Step 7: You wake up one morning and ask “where are the keys” (or phone or wallet) – and your dog finds them for you
 When reading, most of us just let a story wash over us, getting lost in the world of the book rather than paying attention to the individual elements of the plot or writing. However, in English class, our teachers ask us to look at the mechanics of the writing.