Please log in to read this in our online viewer!

Please log in to read this in our online viewer!
No comments yet. You can be the first!
What did others read after this?
Content extract
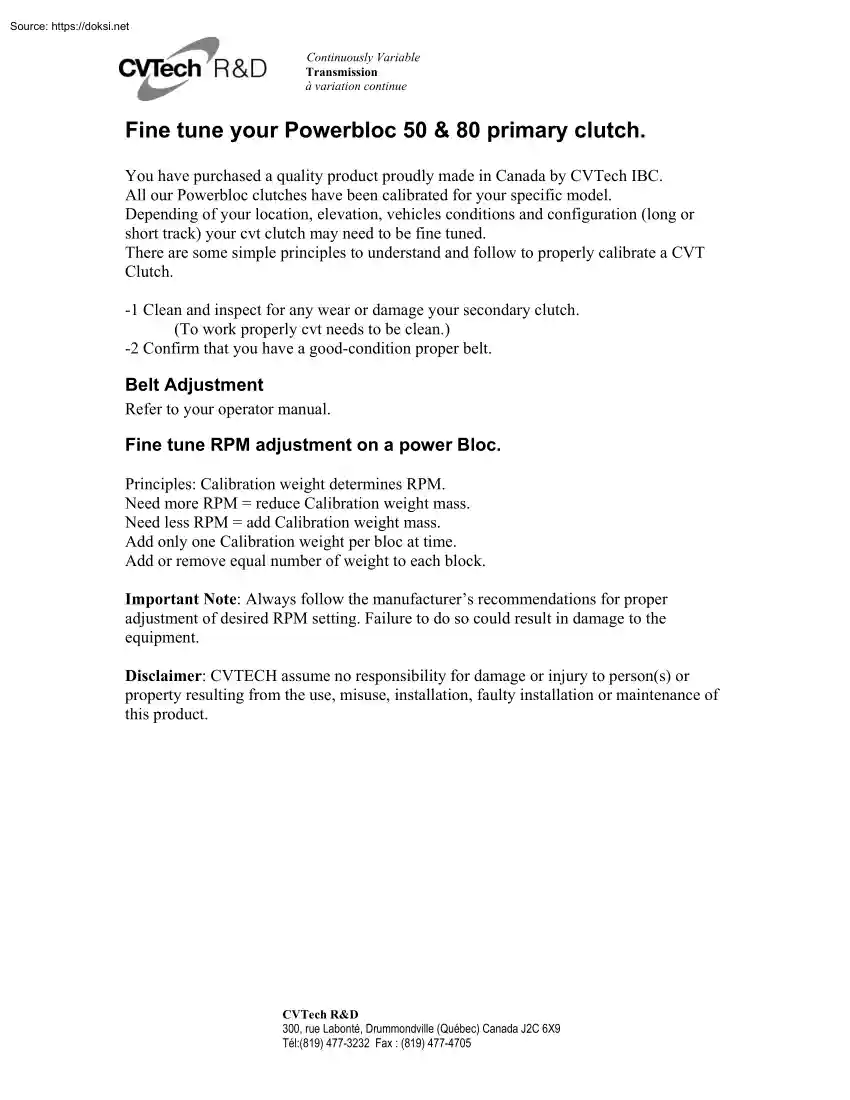
Continuously Variable Transmission à variation continue Fine tune your Powerbloc 50 & 80 primary clutch. You have purchased a quality product proudly made in Canada by CVTech IBC. All our Powerbloc clutches have been calibrated for your specific model. Depending of your location, elevation, vehicles conditions and configuration (long or short track) your cvt clutch may need to be fine tuned. There are some simple principles to understand and follow to properly calibrate a CVT Clutch. -1 Clean and inspect for any wear or damage your secondary clutch. (To work properly cvt needs to be clean.) -2 Confirm that you have a good-condition proper belt. Belt Adjustment Refer to your operator manual. Fine tune RPM adjustment on a power Bloc. Principles: Calibration weight determines RPM. Need more RPM = reduce Calibration weight mass. Need less RPM = add Calibration weight mass. Add only one Calibration weight per bloc at time. Add or remove equal number of weight to each block.
Important Note: Always follow the manufacturer’s recommendations for proper adjustment of desired RPM setting. Failure to do so could result in damage to the equipment. Disclaimer: CVTECH assume no responsibility for damage or injury to person(s) or property resulting from the use, misuse, installation, faulty installation or maintenance of this product. CVTech R&D 300, rue Labonté, Drummondville (Québec) Canada J2C 6X9 Tél:(819) 477-3232 Fax : (819) 477-4705 Continuously Variable Transmission à variation continue Qté Qté 1 Fixed flange 1 7 2 Sliding flange 1 8 Lock washer Hexagon S.HCS 3 Spring seat 1 9 Block 4 Spring 10 Weight 5 Stroke limiter 1 1 or 0 11 6 Srping cover 1 12 Qté 3 13 Block assembly 3 3 14 Cap 1 15 Flate washer 1 16 Nut 1 Weight 3 As per calibration As per calibration 17 Lock washer Threaded cap As per calibration 18 Fixing bolt 1 1 or 0 19 Puller n/a Remove cap holding nut (16). Use maintaining
tool #0155-1018 Assuming it is possible that the existing alignment marks on the sliding sheave and the fixed sheave to the identification number of the cap (14) could be difficult to detect, it is advisable to mark with a line the orientation of the cap with the sliding and fixed sheaves so the parts will be reassembled in the same way. Take note of the orientation of the washer (15) under the cap holding nut. CVTech R&D 300, rue Labonté, Drummondville (Québec) Canada J2C 6X9 Tél:(819) 477-3232 Fax : (819) 477-4705 Continuously Variable Transmission à variation continue Unscrew the threaded washer (12) using a wide enough screwdriver blade to avoid damaging it. Take note of sequence and orientation of parts. (Items may differ from illustration.) Add or remove weight upon result wanted. Make sure all three blocks have the same number of weights. Take note of sequence and orientation of components. Make sure all components are well seated inside the block (9) threaded
housing. Using a Torque Screwdriver with a wide enough flat blade bit to avoid any damage to the threaded Washer (12). Apply a tightening Torque of 13 to 35 lbfin (1,5 to 4 N-m) Assemble cap (14) making sure the hex opening engage on hex section of the shaft. Remember to re-align with the markings made at the beginning. There should be a mark on fixed sheave, sliding sheave and cap. (Cap part number was used as mark at factory assembly time) Place washer (15) and Nut (16). Tighten by hand until hex opening in the Cap is secured on hex section of the shaft. Make sure the hollowed part of the washer (15) is facing the cap (14). CVTech R&D 300, rue Labonté, Drummondville (Québec) Canada J2C 6X9 Tél:(819) 477-3232 Fax : (819) 477-4705 Continuously Variable Transmission à variation continue Preventing rotation of the cap, use a Torque Wrench to apply the following Torque to the nut. Use maintaining tool #0155-1018 This is very important, if not torqued correctly damage may
occur!!! Engine lbf-ft N-m Fan cool 88 - 100 120 – 135 Liquide cool 100 - 110 135 - 150 VERY IMPORTANT CVTech R&D 300, rue Labonté, Drummondville (Québec) Canada J2C 6X9 Tél:(819) 477-3232 Fax : (819) 477-4705


