Comments
No comments yet. You can be the first!
Most popular documents in this category
Content extract
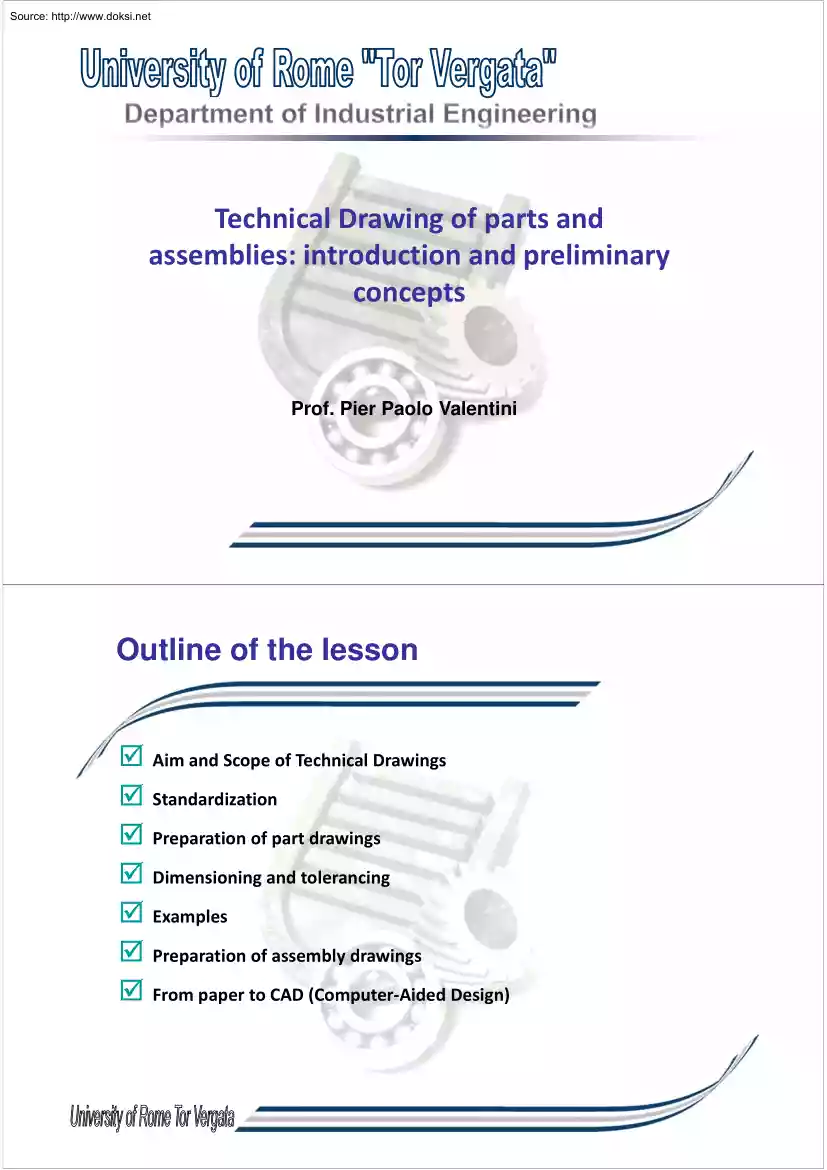
Source: http://www.doksinet Technical Drawing of parts and assemblies: introduction and preliminary concepts Prof. Pier Paolo Valentini Outline of the lesson Aim and Scope of Technical Drawings Standardization Preparation of part drawings Dimensioning and tolerancing Examples Preparation of assembly drawings From paper to CAD (Computer‐Aided Design) Source: http://www.doksinet Technical documents and drawings The purpose of tecnical documents and drawings is to communicate and share ideas A drawing has to fulfil the following requirements: Technical correctness (no functional or practical errors, no representation errors) Clarity (easy to be read and interpreted) Completeness (not only geometrical information) Uniqueness and no ambiguity (readable by different people in different countries) Information in a technical drawing A technical drawing must include several pieces of information, not only the shape of a component Shape
Structure Functionality Dimensions Precision Materials Source: http://www.doksinet Standardization in a technical drawing The information in a technical drawing must be presented according to national/international standards in order to: Use the same representation rule (and the same language) Reduce the cost of stock components (screws, nuts, pipe, etc.) Avoid ambiguity of misrepresentation Apply symbols and coded simplification Standards are not laws but Some laws are based on standards Sheet dimensions and layout Sheet dimensions and the layout of the drawings are standardized Sheet dimensions Sheet layout Location of the drawing(s) A2 A0 A1 A3 Common dimensions A4 (210x297) A3 (297x420) A1 (594x841) A0 (841x1189, 1 m2) A4 Frame Title block and/or part list 18.0 cm, variable height Name of the company Title and number of the drawing The scale – standardized (1:1 is better) Method of projection List of parts (names,
number, quantity, material) Source: http://www.doksinet From real 3D world to 2D sheet space Objects in the real works have three dimensions. Our perception is three dimensional too but the sheet in which we draw has only 2 dimensions Projection rays are perpendicular to the projection plane Need for moving from 3D to 2D without object loosing information of wrong interpretation of the shapes Need for looking at the object from different points of view. The best choice for technical drawing is to use the orthogonal distorsions) projections (no projection plane The drawing is sketched by projecting from an infinite distance (parallel rays), perpendicularly to the projection plane (the sheet) all the points and edges of the object. It is better to align the object to the main reference axes in order to have a more clear representation. Orthogonal (orthographic) projection Starting with the placement of the object in a convenient position (in order to simplify and
make the drawing clearer We choose the first projection (main projection) as the representation which includes much of information (geometrical and functional) We continue with drawing other projections with respect to orthogonal planes of view in order to describe ALL the geometrical features of the component. All the visible edges are drawn with a continuous bold line. All hidden edges are drawn with a dashed line. In many cases, there is no need to draw all the 6 views. Source: http://www.doksinet Layout of the views After choosing the number and the typology of the views, they have to be located on the sheet plane. The symbol of the method has to be sketched in the block title There are several methods, the most important ones are: Symbols First angle method (European method, or Method E) Third angle method (American method or Method A) Section views In many cases the views are not sufficient to describe all the geometrical features of an object. In these cases, section
views can be added Section views are drawn by indicating the cutting plane in one of the standard projection with a dash‐dot line and two arrows The cut of material is depicted with an uniform hatch with inclined lines. Touching parts are drawn with different hatch inclinations The positioning of the section views follows the same rules of the standard views Source: http://www.doksinet Special cases in drawing section views YES Rib features are drawn without the hatch Axial‐symmetric connection parts (screws, pins, nails, shafts, etc.) are always represented without sectioning Small areas are filled Example of projections and sections A‐A Source: http://www.doksinet Dimensions 7 Dimensions have to be included explicitly (numerically) in the drawings and cannot be only measured on the drawings Dimension line (parallel to edge) Reference line 10 Ending arrow Special symbols can be used for diameters and radii Reference lines should not intersect dimension lines
Numerical value (in mm or deg) Example of projections and dimensioning Source: http://www.doksinet Drawing of assemblies An assembly drawing must include clear information about the functionality and the meting conditions among all the parts. It is prepared with the same guidelines for sketching views and sections with some little differences Specific guidelines for assemblies Dimensions should be avoided, except those expressing the maximum size. Each component will be drawn in a specific document with its dimensions The choice of the views/sections should be made in order to have a better understanding of the mounting and the functionality In sections, all mating parts has to be represented using hatches with different patterns All the parts have to be numbered and their list has to be included just above the title block Source: http://www.doksinet Tolerances Dimensions in drawings are referred to ideal features (no error) but perfect shapes cannot be manufactured.
Actual parts have dimensions which differ from those prescribed in the drawings There is the need to control and specify a range in which a real dimension may be comprised in order to be considered acceptable (the parts preserve functionality, resistance and other important properties). Real dimensions should be comprised between two values (limits) which define the TOLERANCE of the dimension 10 Only functional dimensions are subjected to tolerance specifications tolerance Ideal part (drawing) Real parts Including dim. tolerances in drawings There are two ways for adding a tolerance range to a dimension writing min and max deviation as an apex of the dimension use a symbolic representation with letter and number (coded by international standards) Source: http://www.doksinet Geometrical tolerances In many cases, it can be useful to control the deviation from the ideal shape geometrical tolerance Geometrical tolerances control: The shape (straightness,
planarity, circularity, cylindricity, profile, surface) The orientation (parallelism, perpendicularity inclination) The location (position, symmetry, concentricity) The rounout (local or global) The geometrical tolerances are included with symbols over the relative features Allocation of the geometrical tolerances is more complex than the allocation of the dimensional ones Examples of geometrical tolerances Straightness tolerance controls that the axis of the pin is within a cylinder of 0,1 mm of diameter Cylindricity tolerance controls that the surface of the pin is within two cylinders with different diameters with a maximum difference of 0,03 mm Source: http://www.doksinet Example of location tolerances The location tolerance imposes that the centers of the holes are within circles of 0,28 mm of diameter located as stated by the inspection dimensions (dimension in squares) with respect to A B and C datum features Roughness specification In some cases, it is important to
include specifications about the roughness of one or more surfaces for both aesthetic and functional (mating) purposes. These specifications also influence the choice of the manufacturing process. l 1 m 1 n Ra y x dx yi lm 0 n i 1 Arithmetic mean roughness MANUFACTURING PROCESS ALLOWANCE ROUGHNESS SPECIFIC. (IN MICRONS) GROOVE ORIENTATION Surface Source: http://www.doksinet Examples of roughness specification GRINDING Meaning The surface has to have an arithmetic mean roughness of 0,4 μm with parallel grooves achieved by grinding, without the removal of material layer Ra 0.4 (modification of the dimension) Different symbols generic without removal of material with removal of material all the surfaces From paper to CAD Computer‐aided design applications are widely used in all technical offices because they can help many design activities and preparing drawing (actually it is a marginal contribution) Advantages in using CAD Disadvantages in
using CAD Modelling Produced drawings have to be corrected in many cases drawing feasibility) 3D shape before (checking of geometrical The shape is translated in a very Giude in assembly and mating relationships among parts Help in designing complex shapes with a lot of intersecting, hidden and curve edges Possibility of association shape‐ drawing drawing for easily updating Electronic version of drawings the precise way, but the standards specifications are not always satisfied (many standards are country‐ dependent) Deep knowledge of drawing rules and standards is required in order to produce correct documents (that is the reason we study drawing by hand!) Source: http://www.doksinet Summary of the lesson The knowledge of the rules and methodologies for preparing drawing is essential for a correct production of technical material and clear and not ambiguous communication International and National Standards are a guide towards a
correct and complete representation The representation of the shape is not sufficient for industrial purposes. Other information (dimensions, tolerances, roughness, etc.) need to be included Computer‐aided applications can be useful for designing and optimizing the shape, but the preparation of technical drawings requires a specific effort
