Értékelések
Nincs még értékelés. Legyél Te az első!
Mit olvastak a többiek, ha ezzel végeztek?


Tartalmi kivonat
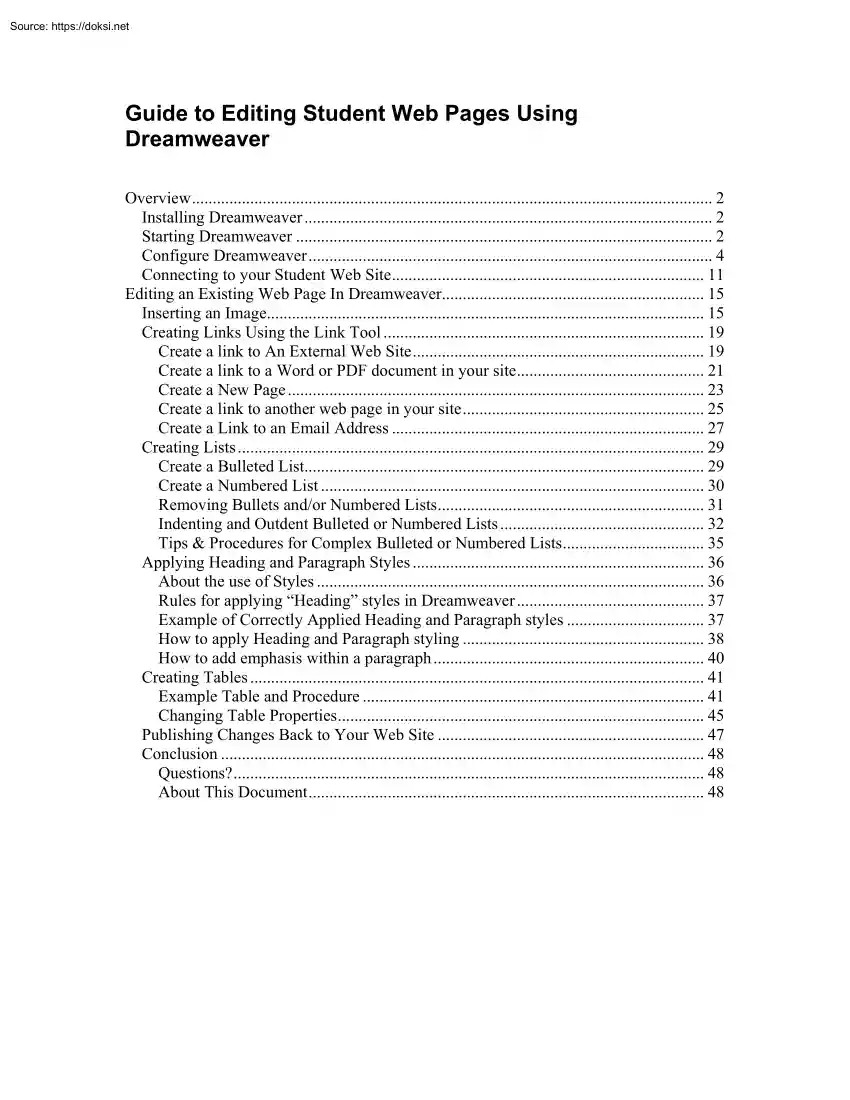
Guide to Editing Student Web Pages Using Dreamweaver Overview . 2 Installing Dreamweaver . 2 Starting Dreamweaver . 2 Configure Dreamweaver . 4 Connecting to your Student Web Site . 11 Editing an Existing Web Page In Dreamweaver. 15 Inserting an Image. 15 Creating Links Using the Link Tool . 19 Create a link to An External Web Site . 19 Create a link to a Word or PDF document in your site. 21 Create a New Page . 23 Create a link to another web page in your site . 25 Create a Link to an Email Address . 27 Creating Lists . 29 Create a Bulleted List. 29 Create a Numbered List . 30 Removing Bullets and/or Numbered Lists. 31 Indenting and Outdent Bulleted or Numbered Lists . 32 Tips & Procedures for Complex Bulleted or Numbered Lists. 35 Applying Heading and Paragraph Styles . 36 About the use of Styles . 36 Rules for applying “Heading” styles in Dreamweaver . 37 Example of Correctly Applied Heading and Paragraph styles . 37 How to apply Heading and Paragraph styling . 38 How to add
emphasis within a paragraph . 40 Creating Tables . 41 Example Table and Procedure . 41 Changing Table Properties. 45 Publishing Changes Back to Your Web Site . 47 Conclusion . 48 Questions? . 48 About This Document . 48 Overview This guide will describe the basic process of editing your student web page using Adobe Dreamweaver CS2 and later. The process looks like this: 1. Configuring a Dreamweaver “site” a. Downloading existing web site files to your computer 2. Connecting to your Student web site 3. Editing an existing web page 4. Applying styles to text for good HTML structure 5. Inserting Images 6. Creating a new web page 7. Creating links a. Create a link from your new web page to another web page in your site b. Creating external links 8. Preview changes 9. Uploading a web site to the server Installing Dreamweaver To install Dreamweaver from DVD-ROM: 1. Insert the Dreamweaver DVD-ROM into the CD drive of your computer 2. Follow the instructions as prompted to complete
the installation NOTE: you probably will need administrative privileges to install Dreamweaver on your computer. Starting Dreamweaver 1. In Windows, start Dreamweaver by selecting the “Start” button on the Taskbar. 2. Then, select the “Programs” menu, followed by “Adobe” and then choose “Adobe Dreamweaver” Configure Dreamweaver Next you will configure your web site within Dreamweaver. 1. From the “Site” menu, select “New Site” 2. Enter a name for “Site Name” and navigate to the portfolio folder on your USB flash drive for “Local root folder”. For example, “Site Name” would be “Website” and “Local root folder” would be “E:portfolio”. 3. Click on the “Advanced Settings” tab Then in the “Default Images folder” box, navigate to the images folder in your portfolio. 4. Click on the “Servers” tab 5. Select the “+” sign to “Add new Server” 6. Enter the following in the text boxes: Connect using:
SFTP SFTP Address: student.csuciedu Root Directory: public html FTP Login: This is the first 20 characters of your Dolphin User Name More information on your Dolphin User Name can be found at: http://www.csuciedu/tc/accounts/ e. FTP Password: This is your Dolphin Password More information on your Domain password can be found at: http://www.csuciedu/tc/accounts/ f. Make sure that the “Save” checkbox is checked This will allow you to access your web site without having to retype your password each time. a. b. c. d. 7. Click on “Test” to verify the information filled out is correct All is well if you receive a message that reads “Dreamweaver connected to your Web server successfully.” Save all of your server settings 8. You are now finished with the configuration Connecting to your Student Web Site Now you will connect to your student web site and retrieve the “place-holder” web page that is there so that you may edit it. 1. In the “Files” tab, make sure that
the view is set to “Remote view” 2. Select the “Connect” button from the Files toolbar 3. You will see a list of your files appear If you are a new user, you will not see any files in your remote folder list. Right-click anywhere in the remote folder view, choose “New File” and call the document “index.htm” 4. Right-click on the indexhtm file and select “Open” from the menu This will copy the file to your local computer and open it so you may edit it. 5. The web page will now open in the editing window so that you can edit it Editing an Existing Web Page In Dreamweaver Inserting an Image Now you will add an image to your web page. 1. First click on the location you want to insert the image on the page 2. Next, click the “Insert” menu and choose “Image” (You could also use the short cut Ctrl+Alt+I) 3. Select the image you want from the source window and then click “Ok” (If you insert an image for which the image file isn’t inside
your site’s local root folder, Dreamweaver provides the option to automatically copy the image into the site.) 4. Your image should be placed where your cursor was 5. Next, on the menu bar click “Window” and make sure “Properties” has a check next to it. If it doesn’t click it 6. Within the Properties panel click inside the “Alt box” and give a short description of what is happening within the image. (This is the text that a screen reader will use and also the text that will be displayed if the browser does not support images.) 7. Press “Enter” and save your changes Creating Links Using the Link Tool Now you will create some links within your web page. Create a link to An External Web Site We will now create a link from your student web site to your email client. 1. Place your cursor where you want the link to go 2. Type the text that will serve as a link to an external site and highlight it 3. On the “Properties” panel, in the “Link”
box, enter the URL for your link Press “Enter”. 4. Save the changes to your page and press “F12” to preview it Click on the link to make sure it works. Create a link to a Word or PDF document in your site We will now create a link from your web page to a Word or PDF document. 1. Select where you want to insert the link on the page, type a description and highlight it. 2. Within the “Properties” panel (on menu bar “Window” then “Properties”) click the “Browse For File” folder to the right of the “Link” box. 3. A “Select File” window will pop up Search your computer for the file you are linking to. Select it and click “Ok” 4. You might be prompted with a dialog box Read it, click “Yes” 5. Save your page and press “F12” to preview Click the document link and make sure it works. Create a New Page Before we move on to the next step, you will create a new page for your site. 1. In Dreamweaver with you web site open, right click on
the root folder in the “Files” panel. Point to “New File” and click it 2. Name your new file Double click on the file name to open it 3. A new blank page opens up Click in the page and enter the information needed 4. Save any changes you made to your page by clicking “File” then “Save” Create a link to another web page in your site Now you will create a link to another page in your site. If you don’t have another page to link to, work through the previous step (Create a New Page). 1. Open your page and place the cursor where you want the link to be 2. Type the text that will describe the page you will be linking to and highlight it 3. Drag and drop the page you want to link to from the “Files” panel into the “Link” box within the “Properties” panel. 4. Press “Enter”, save your changes and Press “F12” to preview your page and make sure the link works. Create a Link to an Email Address Now let us create a link to some email
addresses. 1. Open the page you want to add the link to and select where you want the link to go. 2. On the menu bar click “Insert” then “Email Link” 3. The “Email Link” window is displayed Enter the text that will serve as the link and then the actual email address in the box below. Click “Ok” 4. Save your changes and press “F12” to preview the page and make sure the email link works. Creating Lists Create a Bulleted List You will now create a bulleted list for your site 1. Place your cursor where you want to insert the bulleted list 2. On the menu bar click “Text” then “List” then “Unordered List” 3. Click to the right of that bullet and type the first item in your list, then press “Enter”. Repeat until list is finished Create a Numbered List You will now create a Numbered list. 1. Place your cursor where you want to insert the Numbered List 2. On the menu bar click “Text” then “List” then “Ordered List” 3. Click to
the right of the number and enter the first item in the list then press “Enter”. Repeat until list is complete Removing Bullets and/or Numbered Lists If you don’t want a bullet or numbered list you have created you can remove them. 1. Select to the right of the item 2. Press “Backspace” until you have completely deleted the list item and your cursor has moved to the line above. Indenting and Outdent Bulleted or Numbered Lists Now you will indent a list item. 1. Place your cursor after the number you want to indent 2. On the menu bar click “Text”, then “Indent” (shortcut: Ctrl+Alt+] ) 3. Type the text you want and press “Enter” Repeat as many times as you need 4. You can also Outdent Place your cursor in front of the number you would like to Outdent. 5. On the menu bar click “Text”, then “Outdent” Type the text for the list item Tips & Procedures for Complex Bulleted or Numbered Lists You will now modify some list items to better fit
your needs. Say you want to change a numbered list to have letters. 1. Highlight the list items that you want to modify 2. On the menu bar click “Text”, then “List”, then “Properties” 3. On the List Properties pop-up window, click on the “Style” list menu and select the style you would like. Click “Ok” 4. Notice the change from numbers to letters Applying Heading and Paragraph Styles About the use of Styles The “Style” tool is used to format text according to preset font color, size, style and weight criteria to any given paragraph; a “style” always applies to an entire paragraph. Most importantly, the use of style applies structure to your web content that improves both usability and accessibility when done correctly. Rules for applying “Heading” styles in Dreamweaver Special usability rules apply for the use of “Heading” styles, as follows 1. Heading styles must always be applied in numerical descending order according to the reading
order of the page. • Example #1: you should never apply “Heading 3” style to any paragraph before a “Heading 2” style is used somewhere prior in the page. • Example #2: you should never skip a heading style, such as applying “Heading 4” to any paragraph before applying Heading 1, Heading 2 and Heading 3 to text earlier in your page. 2. It is perfectly acceptable to use the same heading style more than once, as long as it is in the correct order. • For example, you can use Heading 1 once, then three Heading 2’s. 3. It is perfectly acceptable to use a previously used same heading style more than once, as long as it is in the correct order. • For example, you can use Heading 1 once, then three Heading 2’s, then Heading 1 again. Do not use under any circumstances use bold and/or italics as a means of creating a content heading. Use only the predefined styles and the “Style” button to create page headings. Example of Correctly Applied Heading and Paragraph
styles How to apply Heading and Paragraph styling Now you will apply headings and paragraph styling to your web page. 1. In the body of the page, highlight the text that you want to apply the heading style to. 2. On the menu bar click “Text”, then “Paragraph Format”, then select “Heading 2.” 3. The highlighted text is now heading 2. Notice the correct hierarchy of headings 4. To change a heading style back to a paragraph style, select the text you want to change. 5. On the menu bar click “Text”, then “Paragraph Format”, then “Paragraph” How to add emphasis within a paragraph Frequently you may need to add emphasis to pieces of content within a web page. Use the following guidelines to help you determine how to judiciously add emphasis to certain words, phrases or sentences throughout a web page: 1. Use the “Bold” or “Italic” icons on the editing toolbar to judiciously add emphasis to key words, phrases or sentences in a paragraph. 2. Use
“Bold” or “Italic” to apply emphasis to an entire paragraph only once or twice per page; rarely use “Bold” or “Italic” on two paragraphs in a row. 3. Feel free to use “Bold” or “Italic” to add emphasis to single words or short phrases throughout your page. 4. Never use “Bold” or “Italic” to create the appearance of a page heading 5. Never use “Underline” to apply emphasis in Dreamweaver Examples of Bad and Good paragraph formatting Creating Tables In Dreamweaver you can create tables for data or layout. 1. Data tables are tables which contain grid-based information, such as a grid of names and phone numbers. 2. Layout tables are tables (typically with transparent borders) that enable more flexible positioning of content on a web page. Example Table and Procedure You will now create a table that will hold names and email addresses. 1. Place your cursor on the page where you would like to insert the table 2. On the menu bar click
“Insert”, then “Table” 3. The “Table” pop-up window appears 4. Enter the number of “Columns” and “Rows” you want your table to have 5. Next, set the “Width” attribute of the table You can set width for either pixels or as a percentage of the page size. 6. Set the Border attribute for your table a. Set Border to 1 for data tables or whenever you want a grid to be displayed b. Set Border to 0 to make the border transparent 7. Set Cell padding and Cell spacing attributes a. Cell padding is the distance between the table cell wall and its contained text. Recommended value is between 4 and 10 b. Cell spacing is the distance between the table cell walls with one another Recommended value is 0 or 1. 8. Because our table has headings select the “Top” selection under the Header section. This will help with accessibility 9. Once you have entered all of the table parameters click “Ok” 10. Now you can enter the data you want into the table Notice how
the top “Row” for both “Columns” are headings. Changing Table Properties 1. To change the properties of a table, position your cursor on the edge of the table and select it. (make sure the entire table is selected) 2. Within the “Properties” panel at the bottom of the page, you have several choices to alter the attributes of your table. 3. To add more rows to the table click the “Rows” box and change the number of rows and press “Enter”. 4. Enter the data into the additional rows Publishing Changes Back to Your Web Site Now that you have made changes to your web site within Dreamweaver, you are going to want to publish those changes to your remote web site. 1. In the “Files” panel select the “Connects to the Remote Host” button 2. If you have not entered your “FTP” information you will be prompted with a window, follow steps 9 through 12 under the heading “Configure Dreamweaver” to set up your “FTP” connection. 3. Click the “Put
File(s)” button on the “File panel” 4. You will be prompted with a window asking you “Are you sure you wish to put the entire site?” Click the “Ok” button. 5. The changes you have made to the files in your “Student Web Site” are now published to your remote site. Conclusion This concludes our tutorial on creating a student web site using Adobe Dreamweaver. Now that you have finished this tutorial you should be able to: • • • • • • • Create a new page for your site Insert images Create links Create lists Apply heading and paragraph styles Create tables Publish your changes back to your remote site Questions? Please contact the IT Help Desk at helpdesk@csuci.edu or call (805) 437-8552 About This Document Created by Peter Mosinskis, Web Services @ CSUCI, webmaster@csuci.edu Revised: September 3, 2009 Created: August 24, 2006