A doksi online olvasásához kérlek jelentkezz be!
A doksi online olvasásához kérlek jelentkezz be!
Nincs még értékelés. Legyél Te az első!
Mit olvastak a többiek, ha ezzel végeztek?


Tartalmi kivonat
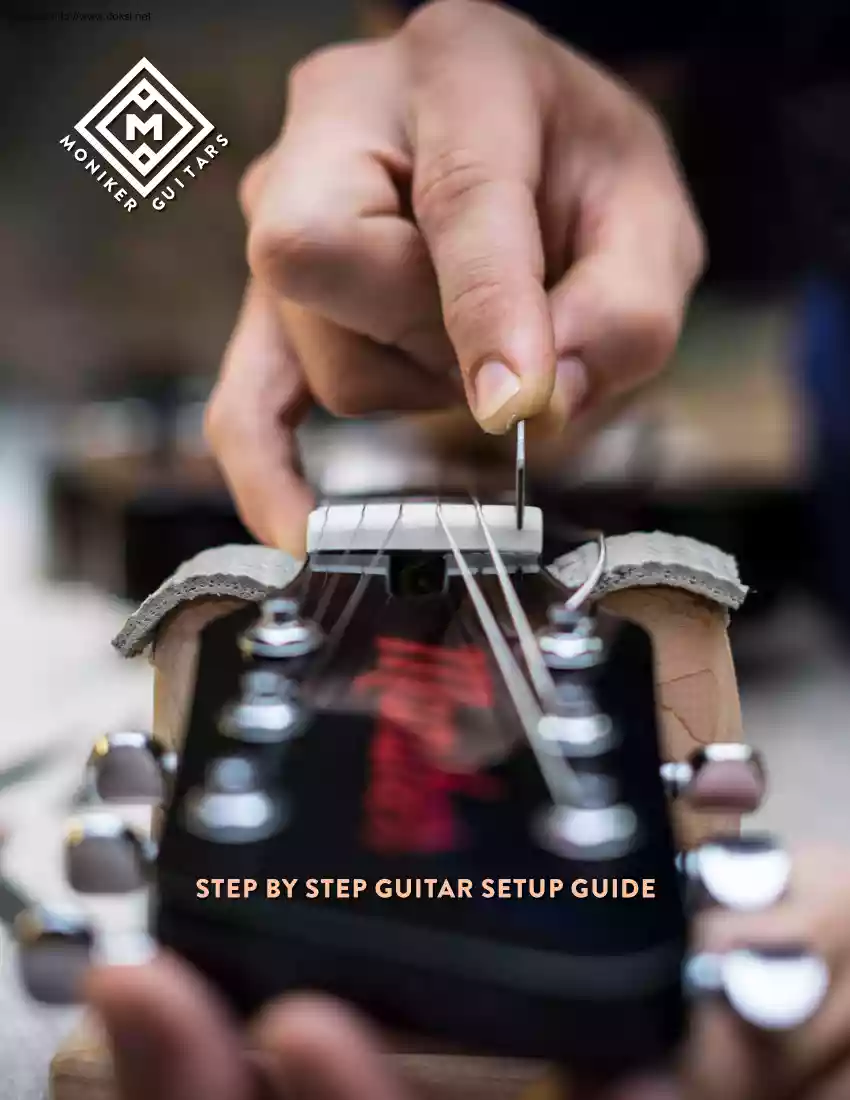
Source: http://www.doksinet STEP BY STEP GUITAR SETUP GUIDE Source: http://www.doksinet STEP BY STEP GUITAR SETUP GUIDE Want to save yourself some money by learning how to setup your own electric guitar or bass? Do you find yourself needing to setup your guitar from the road? Follow the steps below and you’ll be a pro in no time. However, if you don’t feel comfortable with any of the steps below, take your guitar to your favorite shop and ask your luthier for their preferred approach. There are million variations of guitars out there so beware that this guide may not apply to all of them. SETUP TOOLS GLOSSARY These are the tools you will want to have on hand: Here are some useful terms for you before we get started: Radius Gauge https://www.amazoncom/Son-Strummer-Premium-Luthier-Tools/ dp/B01MU8D01L/ref=sr 1 1?ie=UTF8&qid=1496870412&sr=8-1-spons&keywords=guitar+radius+gauge&psc=1 Action - the distance between the fretboard and the strings Truss Rod Wrench
https://www.amazoncom/s/ref=bnav search go?url=search-alias%3Daps&field-keywords=truss+rod+wrench Small screwdriver Tuner Cable (duh) Amplifier Truss rod - the metal rod inside the guitar neck. The adjustable end with the nut can be accessed beneath the truss rod cover on the headstock Neck relief - the bow of the neck. In other words the frets in the middle of the fretboard are farther away from the strings than the first or last fret. Back bow - The opposite of neck relief, this is a slight hump in the neck. Imagine a rainbow shape Saddles - These are the individual pieces that are the point of contact for the string on the instrument’s bridge. On many guitars they can be adjusted vertically and horizontally. Source: http://www.doksinet STEP BY STEP GUITAR SETUP 1 Before getting started. • If you have a truss rod cover, remove it with a small phillips head screwdriver. • Put the strings on, stretch them out and tune them to pitch using a tuner. Step 1: SET THE RELIEF
This is the trickiest part of the whole thing. You want the fretboard to be almost flat but with a little bit of bow (known as “relief”) in the neck. Experienced luthiers can look down the neck to determine what’s going on. Chances are if you’re reading this guide, you’re not one of these people. So, here’s a nice cheat. Sit the with the guitar in your lap in playing position. With your fretting hand, press the low E string down at the first fret with one finger and keep it there. (Figure 1.) 2 Using your other hand, press the low E string down with your pinky at the 12th fret. Why use your pinky? Because next you’re going to use that same strumming hand to reach for the 7th fret with your index finger. Press the string down on the 7th fret It should press down a tiny bit and spring back up when you release it, leaving enough room for a razor blade to sit between the fret and the string. (Figure 2) If this is not the case, you need to adjust your truss rod. Now, which
direction are you going to adjust it? That depends. Which of the following two things is happening? The string is touching the 7th fret without you pressing it down - This means your neck is basically making the shape of a rainbow and your truss rod needs to be loosened because otherwise you’ll be getting buzz. Loosen the truss rod by turning the wrench to the left. Remember, “lefty loosey, righty tighty” In other words if you’re looking down the neck with the headstock closest to your eyes and the butt end of the guitar pointing away, turn the wrench counter-clockwise no more than a ¼ of a turn at a time. “Nut Slotting” is NOT covered in this guide, we strongly suggest taking your guitar to a professional when drastically changing string gauges, for example, going from 9’s to 13’s and vice versa. If the truss rod is spinning with the nut, stop what you’re doing and seek expert help. OR The string is too high off the fretboard and you can fit a stack of your
favorite baseball cards between the fret and the string. If there is too big of a gap, tighten the truss rod by turning your truss rod wrench no more than an 1/8th of a turn at a time (clockwise in our above example). Check the height between string and fret. Turn it again if need be. Check the distance again MONIKER GUITARS 3 If the neck begins to creak dramatically or it gets hard to turn the wrench, seek expert help. Source: http://www.doksinet Step 2: ADJUST THE ACTION Start by tuning your instrument to pitch again then measure the distance between the fret and the fretboard with an action gauge. You can get one of these on Amazon for cheap. (figure 3) To do this, press the string down at the first fret and measure the string height at the 12th fret. The “correct” height can depend on your personal preference but the low E string should probably be between .090 inches and 0075 inches above the 12th fret on an electric guitar or .100 and 090 inches on a bass Use your action
gauge to measure this distance. Adjust the saddle height for the highest and lowest strings first. How you do this depends on the type of bridge you have. Usually there is a set screw or thumb wheel you can adjust. (Figure 4) 3 Next, use a radius tool to adjust the height for the other strings. The radius tool is inserted under the strings with the tab protruding up between the two middle strings (D and G on guitar, A and D on bass). Lift up on the tab till the tool hits the highest and Play each note on each string to make sure there is no buzzing. Pro Tip: Want super low action? Adjust the saddles until you get fret buzz and then raise it till it no longer buzzes. Don’t forget to tune your instrument to pitch every step of the way keep the tension is crucial for an accurate setup. Step 3: INTONATION Basically, what you’re trying to do here is make sure the guitar plays in tune up and down the neck. You do this by moving the saddles forward or backward. (Figure 5) 4 Play an
open string and make sure it’s tuned to pitch. Play the harmonic at the twelfth fret. Is the harmonic in tune? If it’s flat, move the saddle farther away from the bridge by adjusting the saddle screw. If it’s sharp, move the saddle closer to the bridge by adjusting the screw in the other direction. 5 Step 4: ROCK OUT! You’re done! MONIKER GUITARS 4
 Ahogy közeledik a történelem érettségi, sokan döbbennek rá, hogy nem készültek fel eléggé az esszéírás feladatra. Módszertani útmutatónkban kitérünk a történet térbeli és időbeli elhelyezésére, a források elemzésére és az eseményeket alakító tényezőkre is.